
How to take photos?
We’ll teach you how to take professional photos
of your dishes in 7 simple steps.
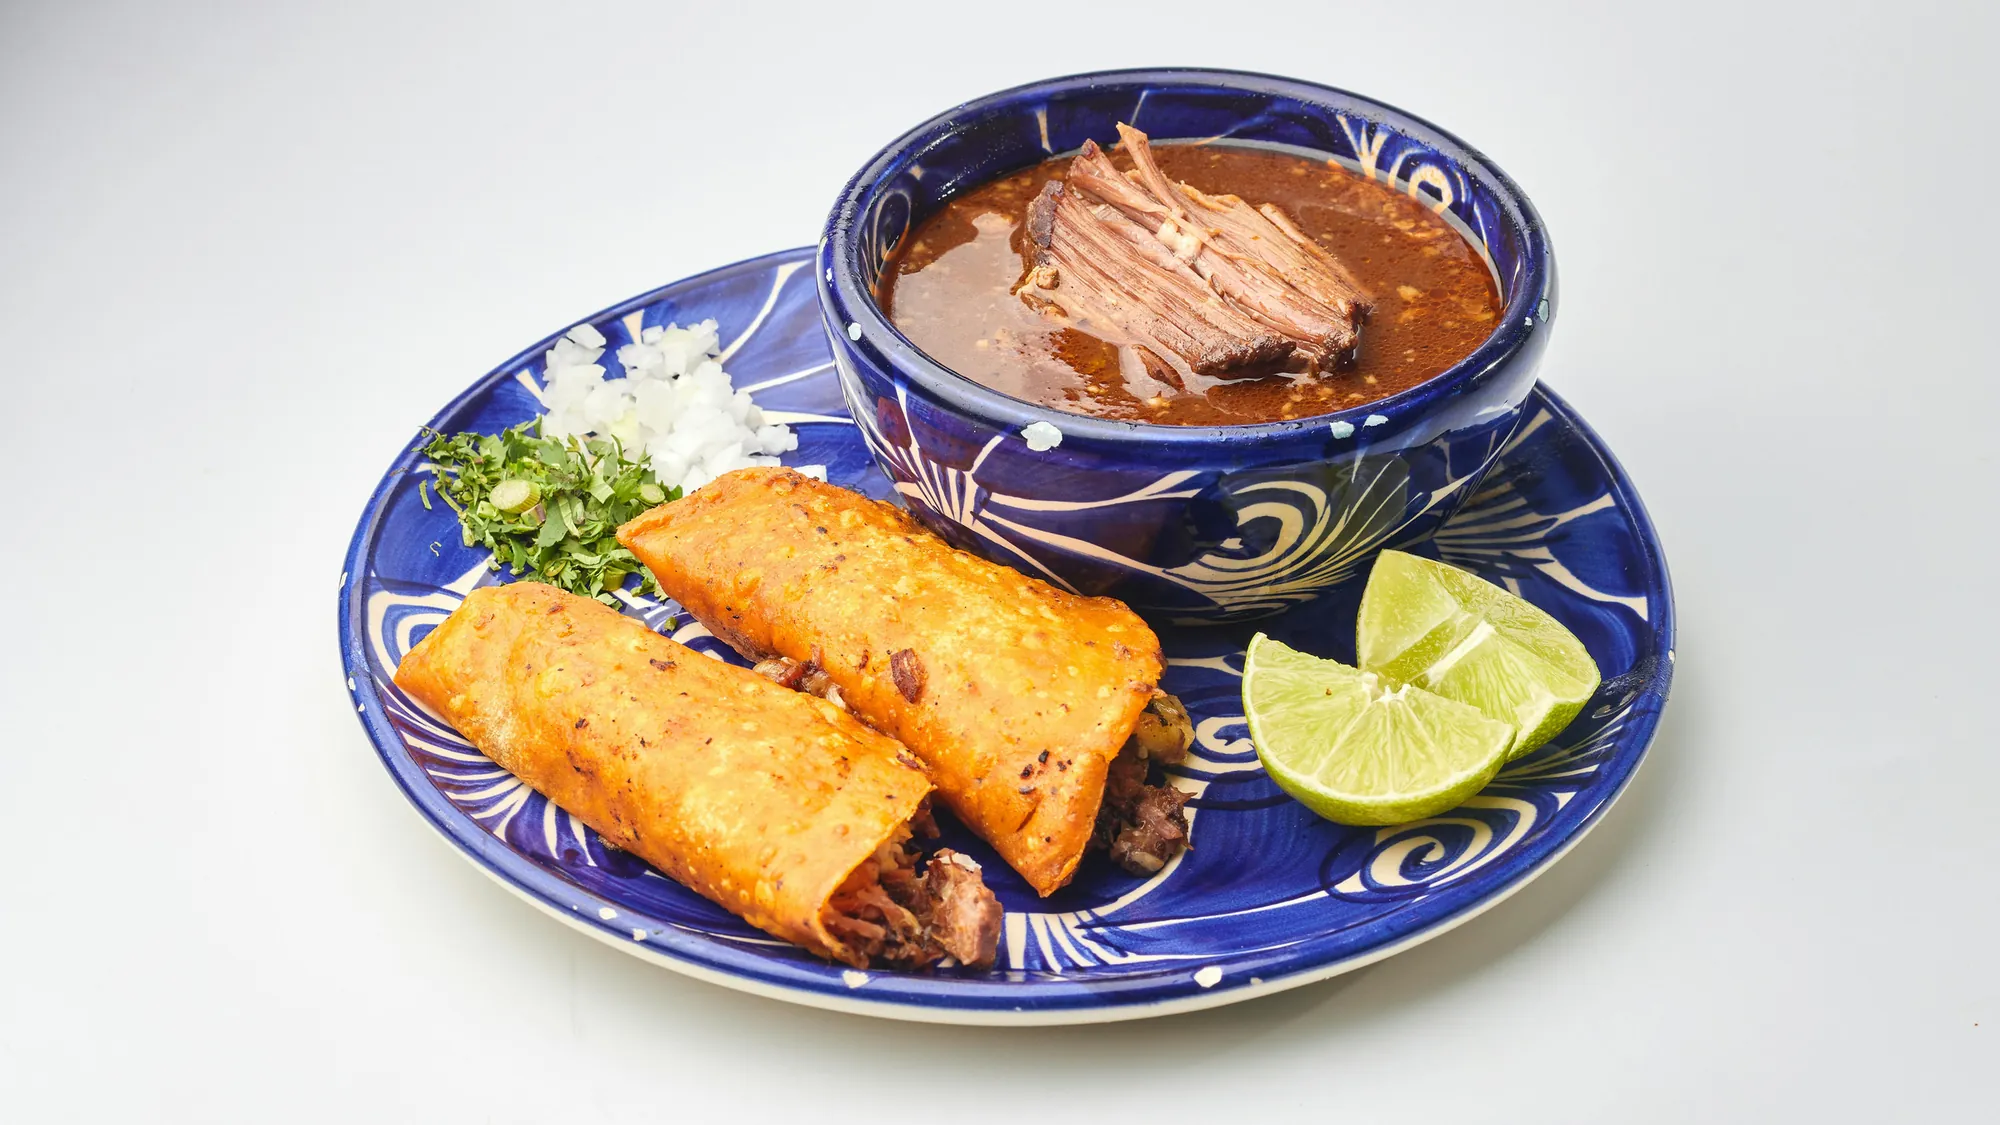
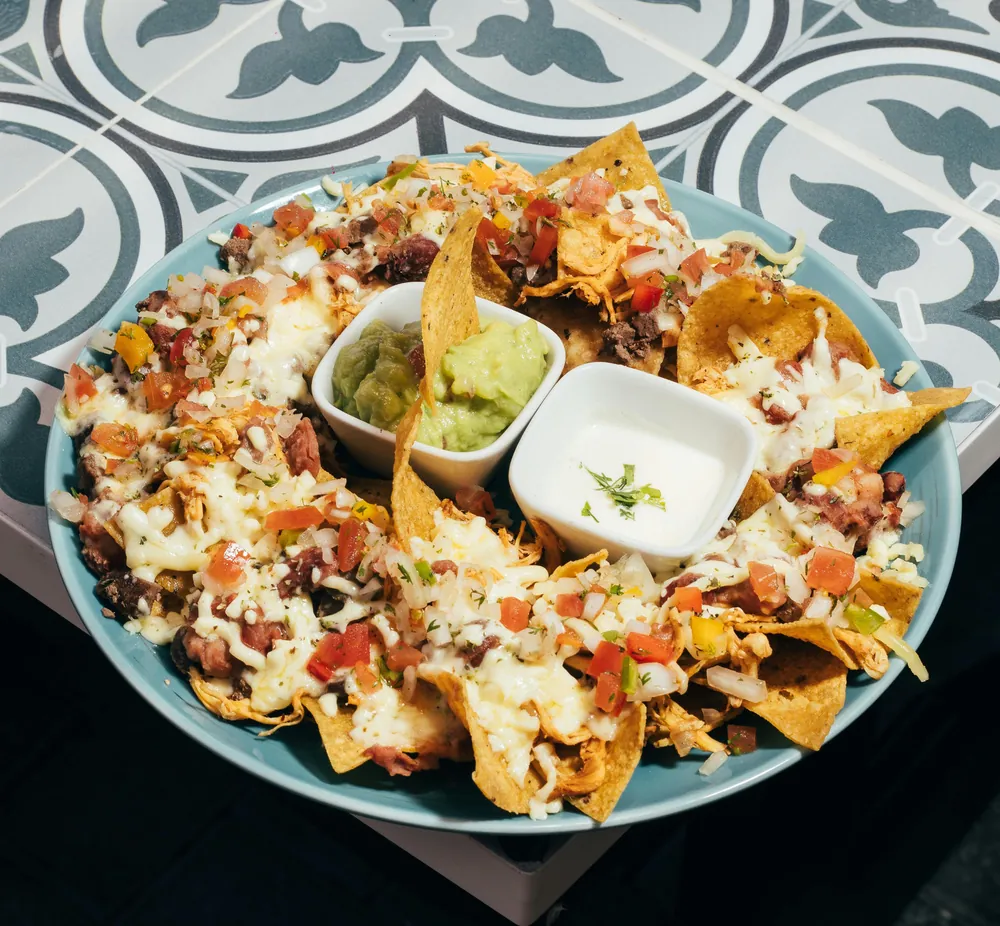
1. Prepare the dish
- Clean the plate and the plate’s rim
- Make sure the table is clean
- Remove distracting objects (dirty napkins, empty bottles, cables, etc.)
2. Set up your phone
Use your phone’s rear camera
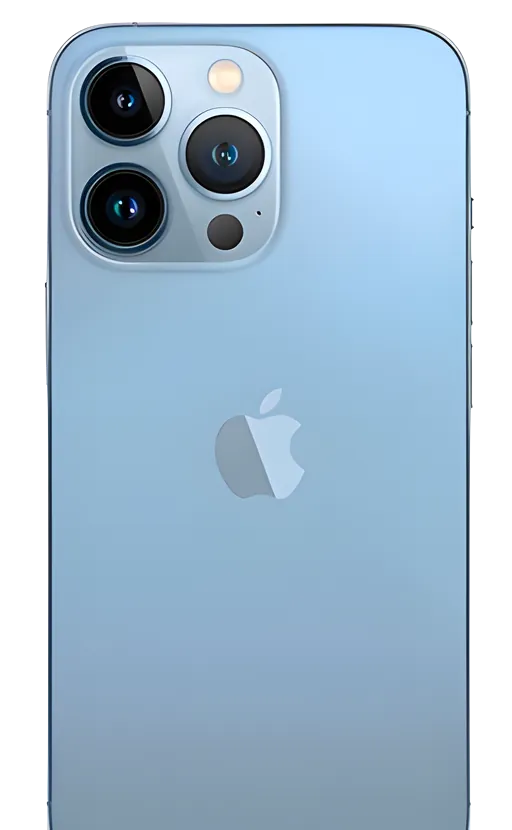
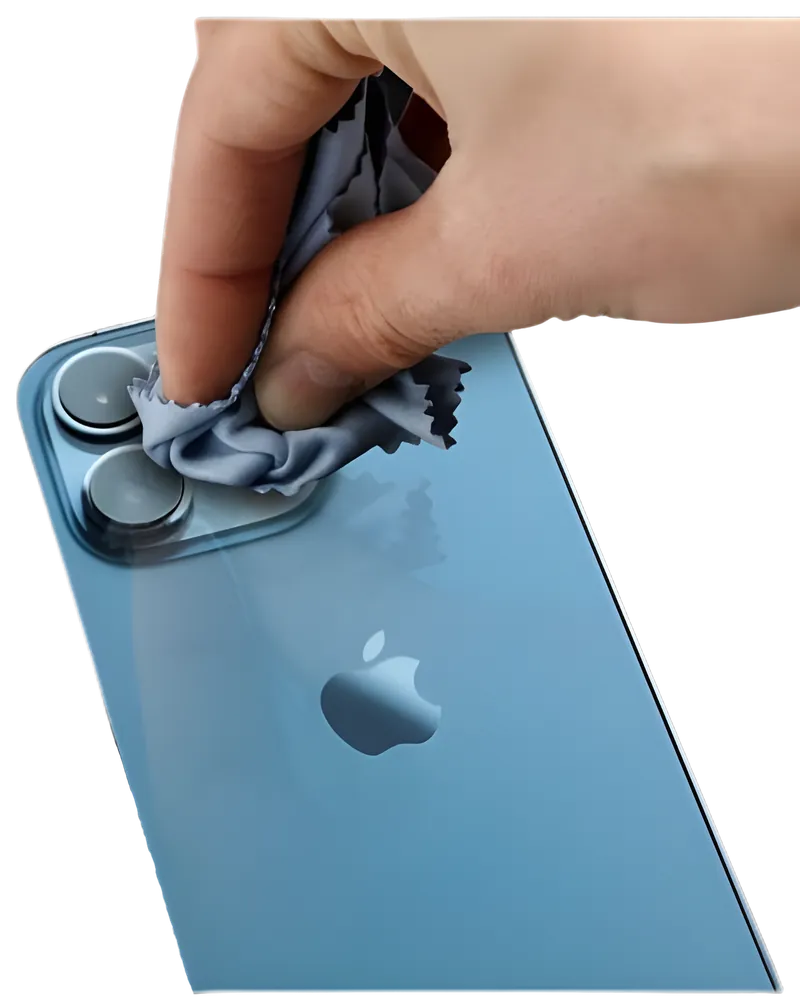
Make sure the lens is clean
In Camera Settings:
If you have the option, set it to RAW format
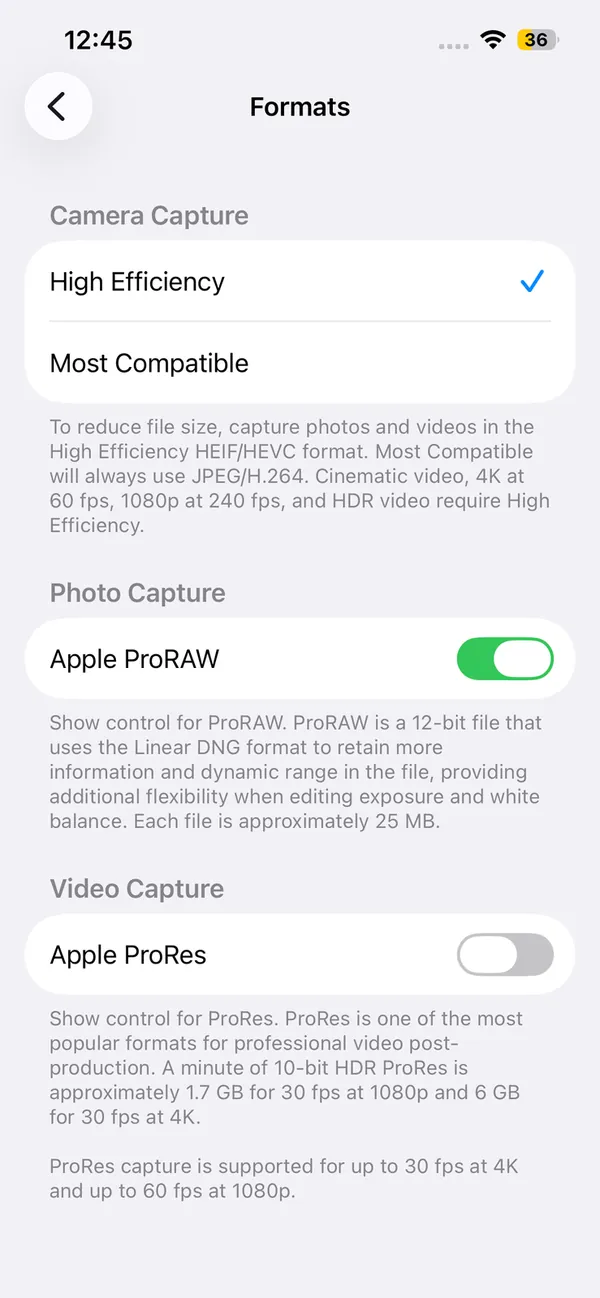
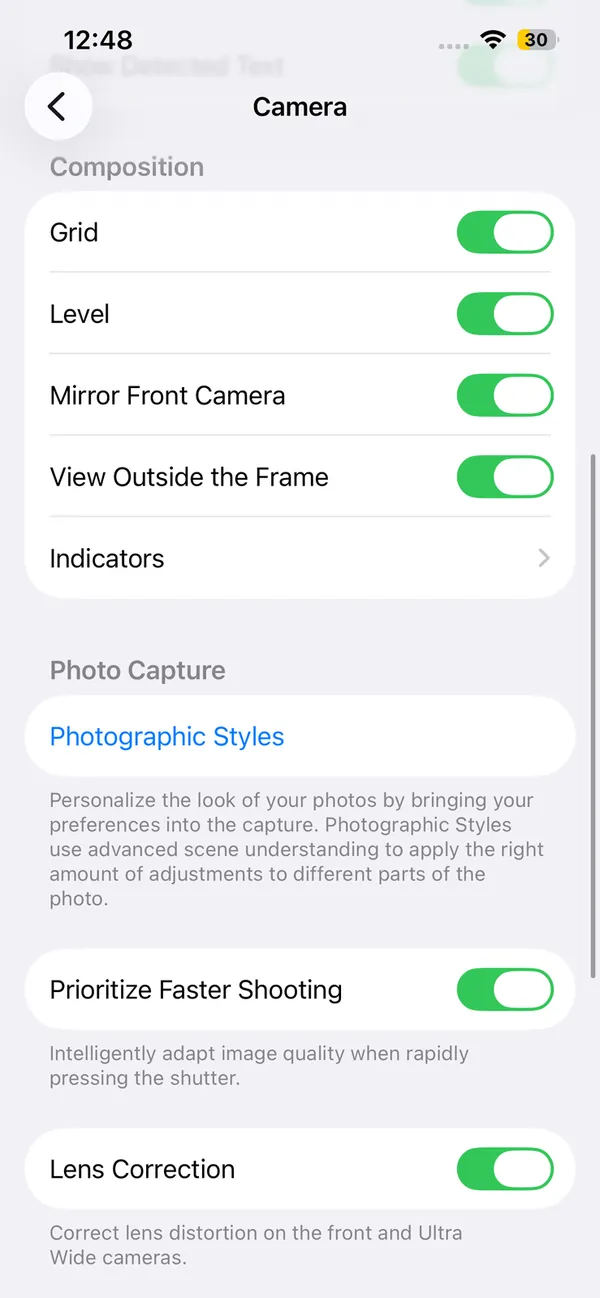
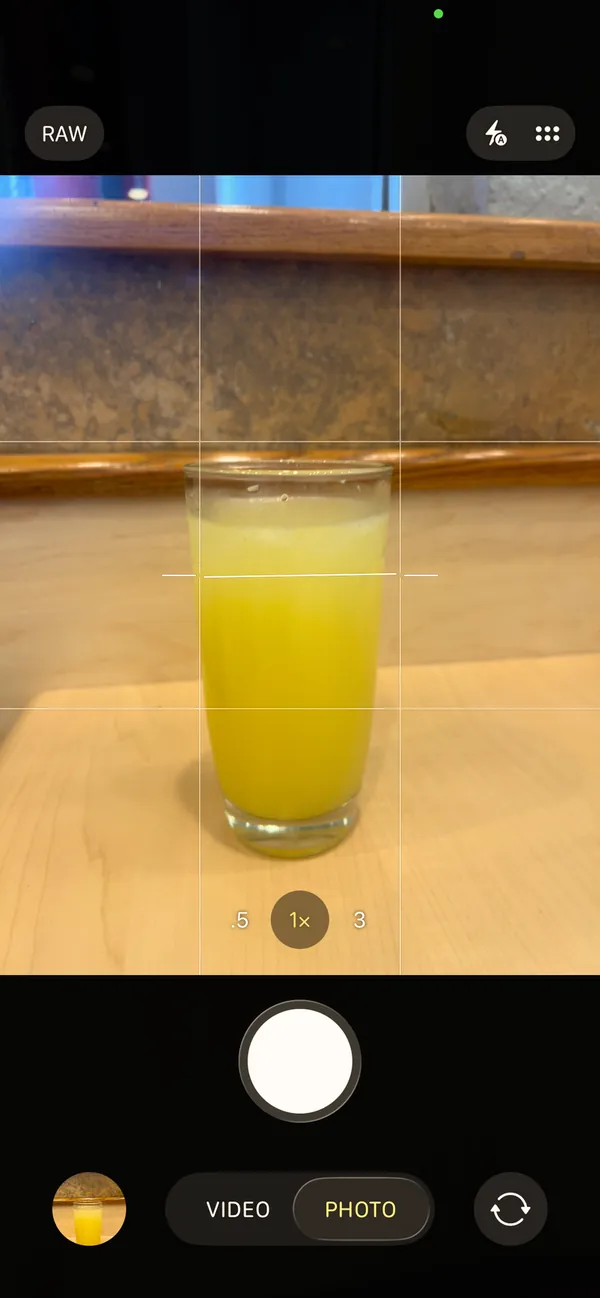
Turn on Grid and Level
3. Use good
lighting
- Place the dish near a window
- Avoid yellow ceiling light
- Don’t use direct flash (only if there’s no other option)
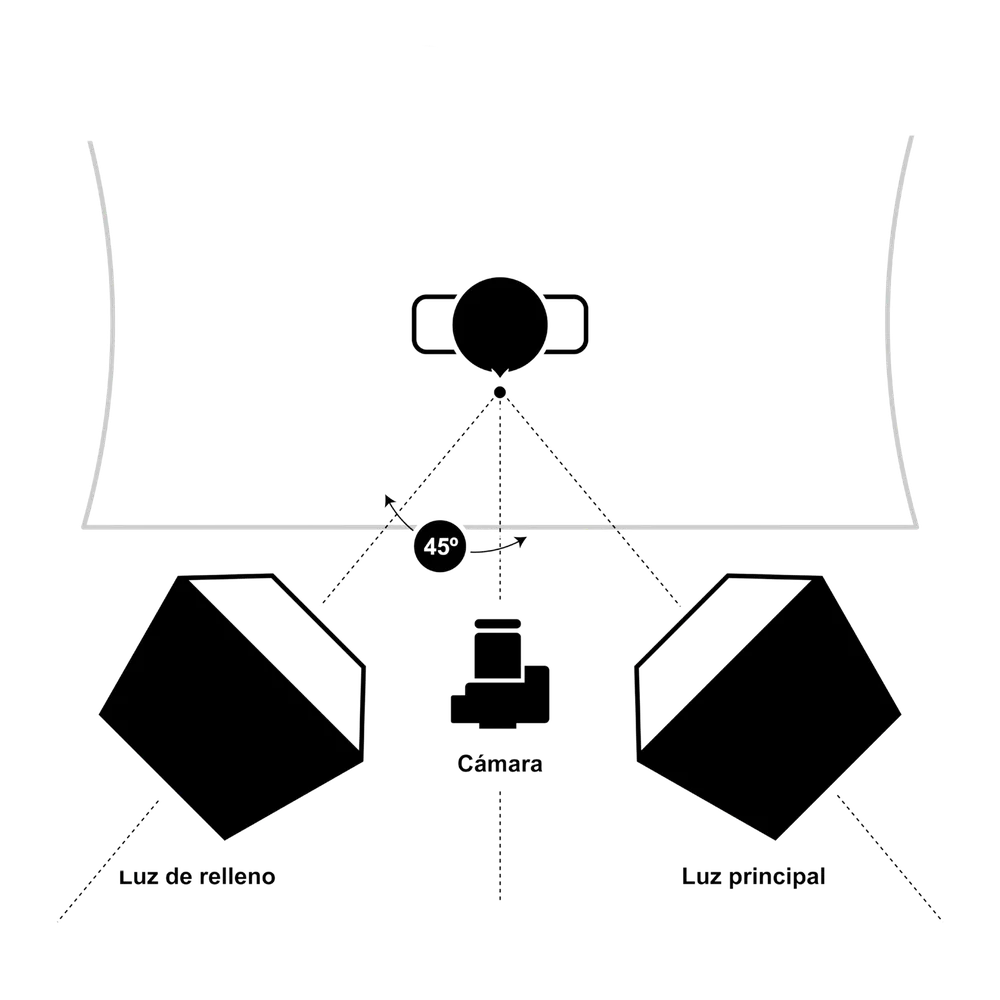
- If there’s little light, use two side lamps to light it
4. How to take the photo
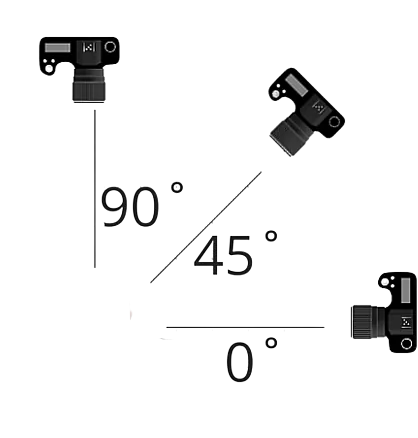
Recommended angles:
- From above (90°): ideal for bowls and full tables
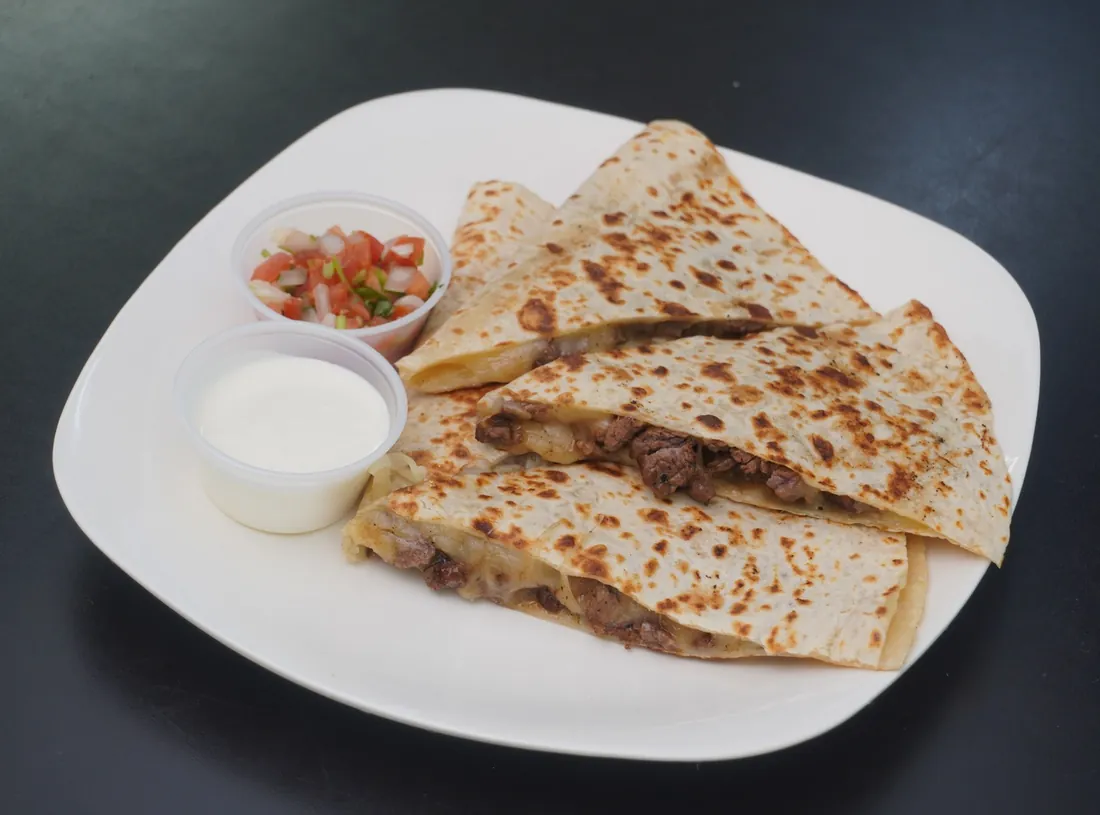
- 45° angle: perfect for main dishes
- Plate level: for drinks and desserts
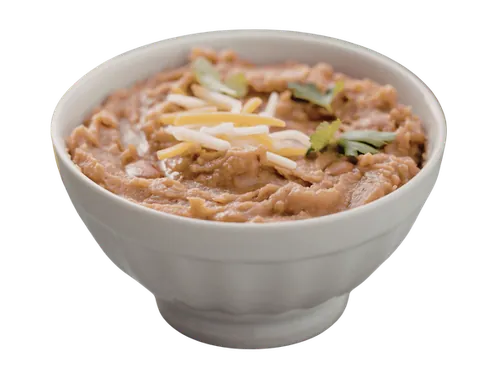
Tips:
- Check the level and keep your phone straight
- Use the grid to center the dish
- Take several photos and pick the best one
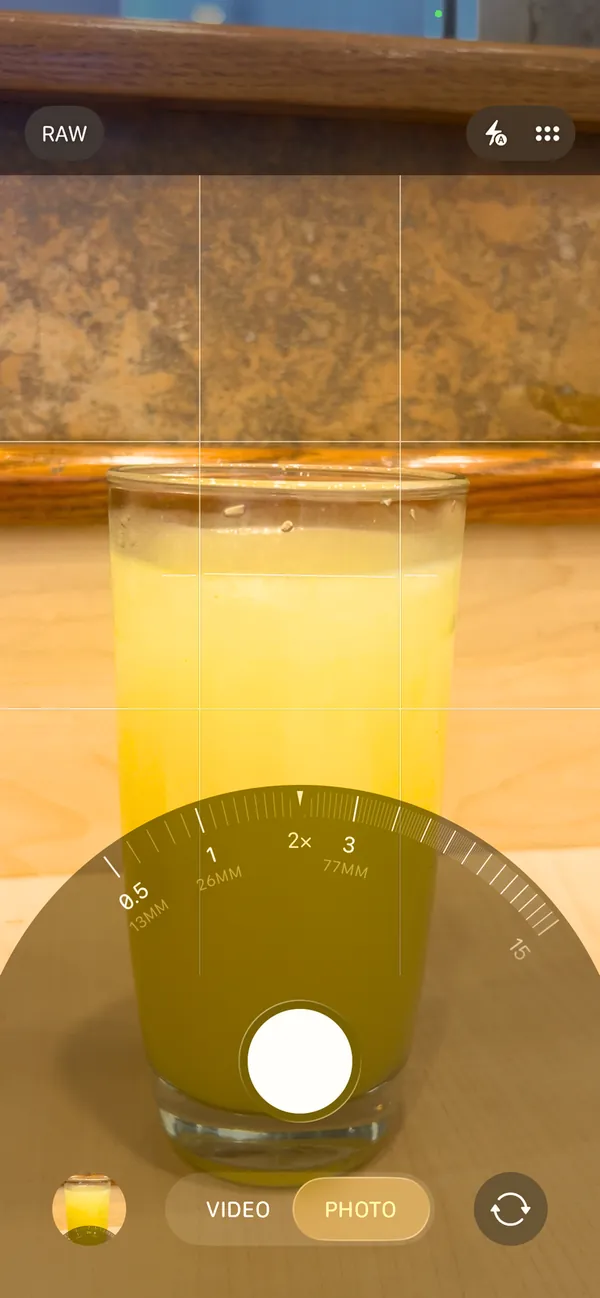
- You can use 1x–3x zoom if you prefer
5. Photos we need
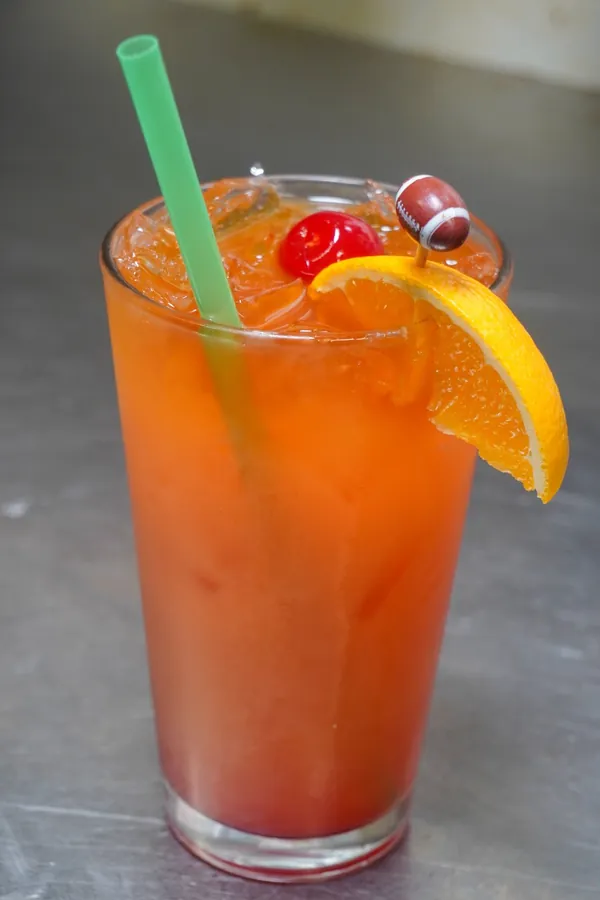
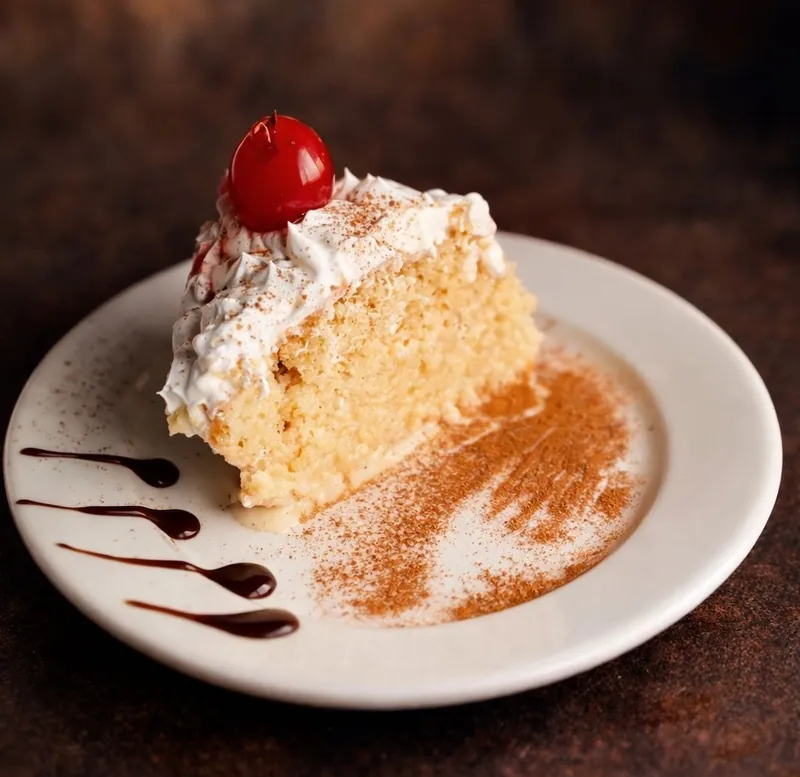
Extras:
- Restaurant interior
- Team at work
- Atmosphere with customers (with their permission)
6. Avoid the following

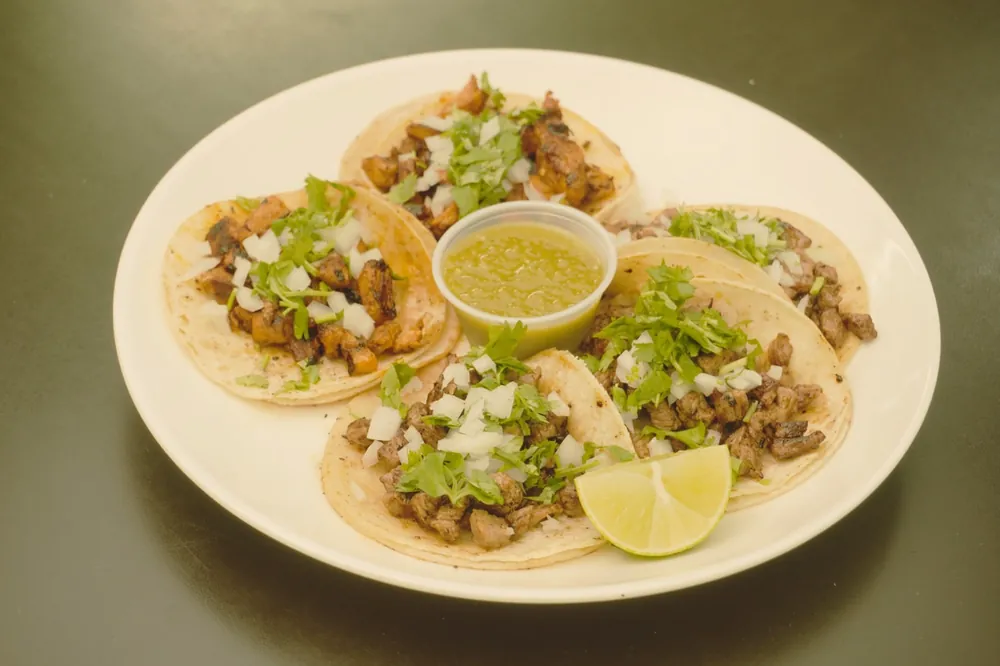
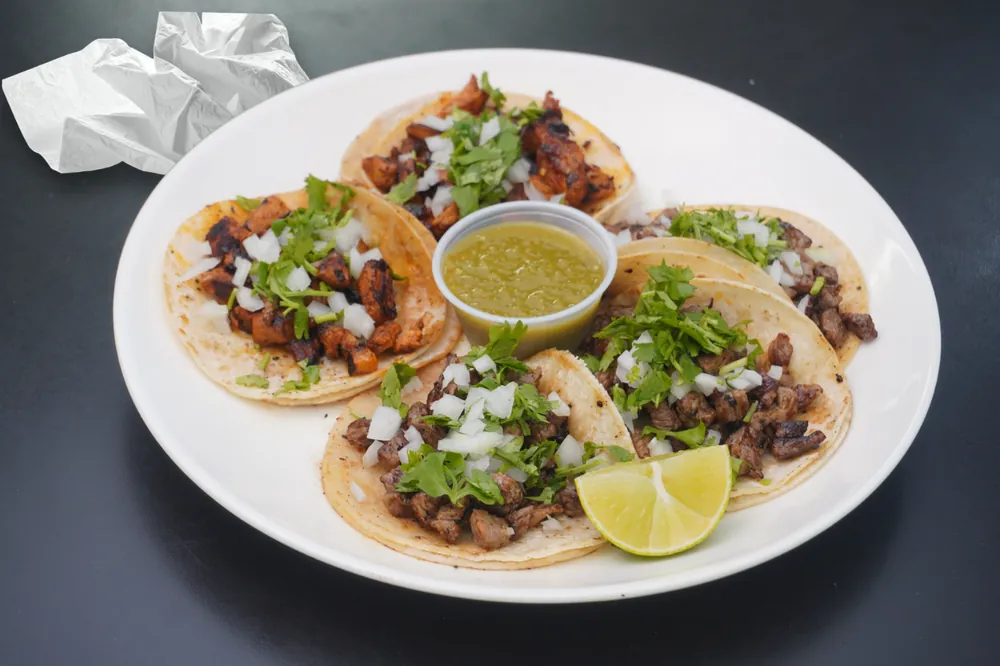


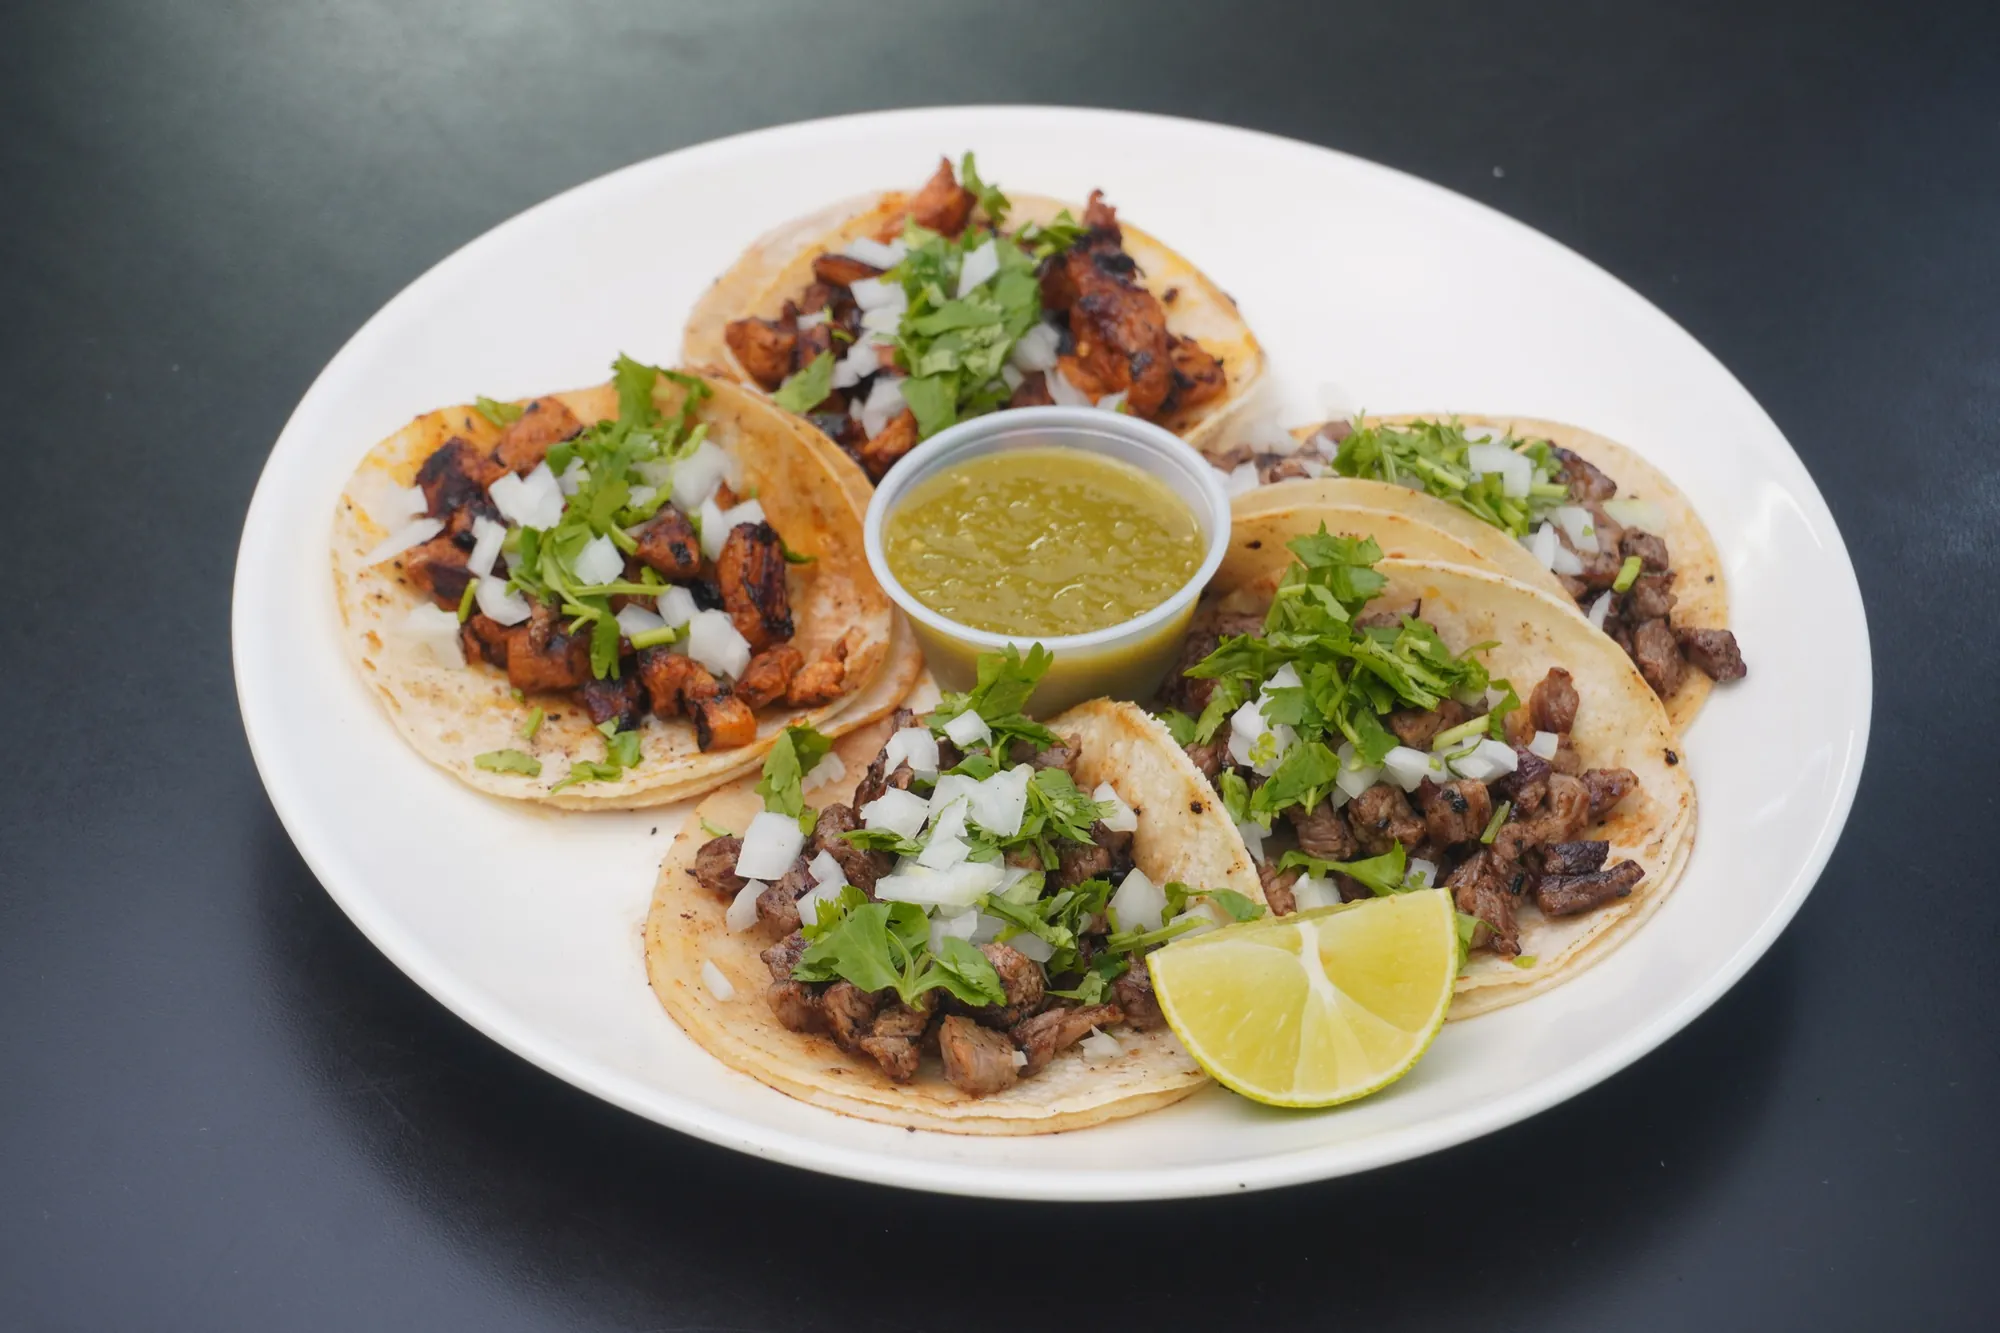
but...
this is how it looks when you follow the steps!
7. How to send us
the photos
- Upload the photos to Google Drive or send them via WhatsApp as a file
- Name the files like this:
Restaurant_Dish_Year.jpg
Example:
LaTaqueria_TacosAlPastor_2026.jpg
How to upload to
Google Drive:
When you’re done, copy and paste
the link in WhatsApp